
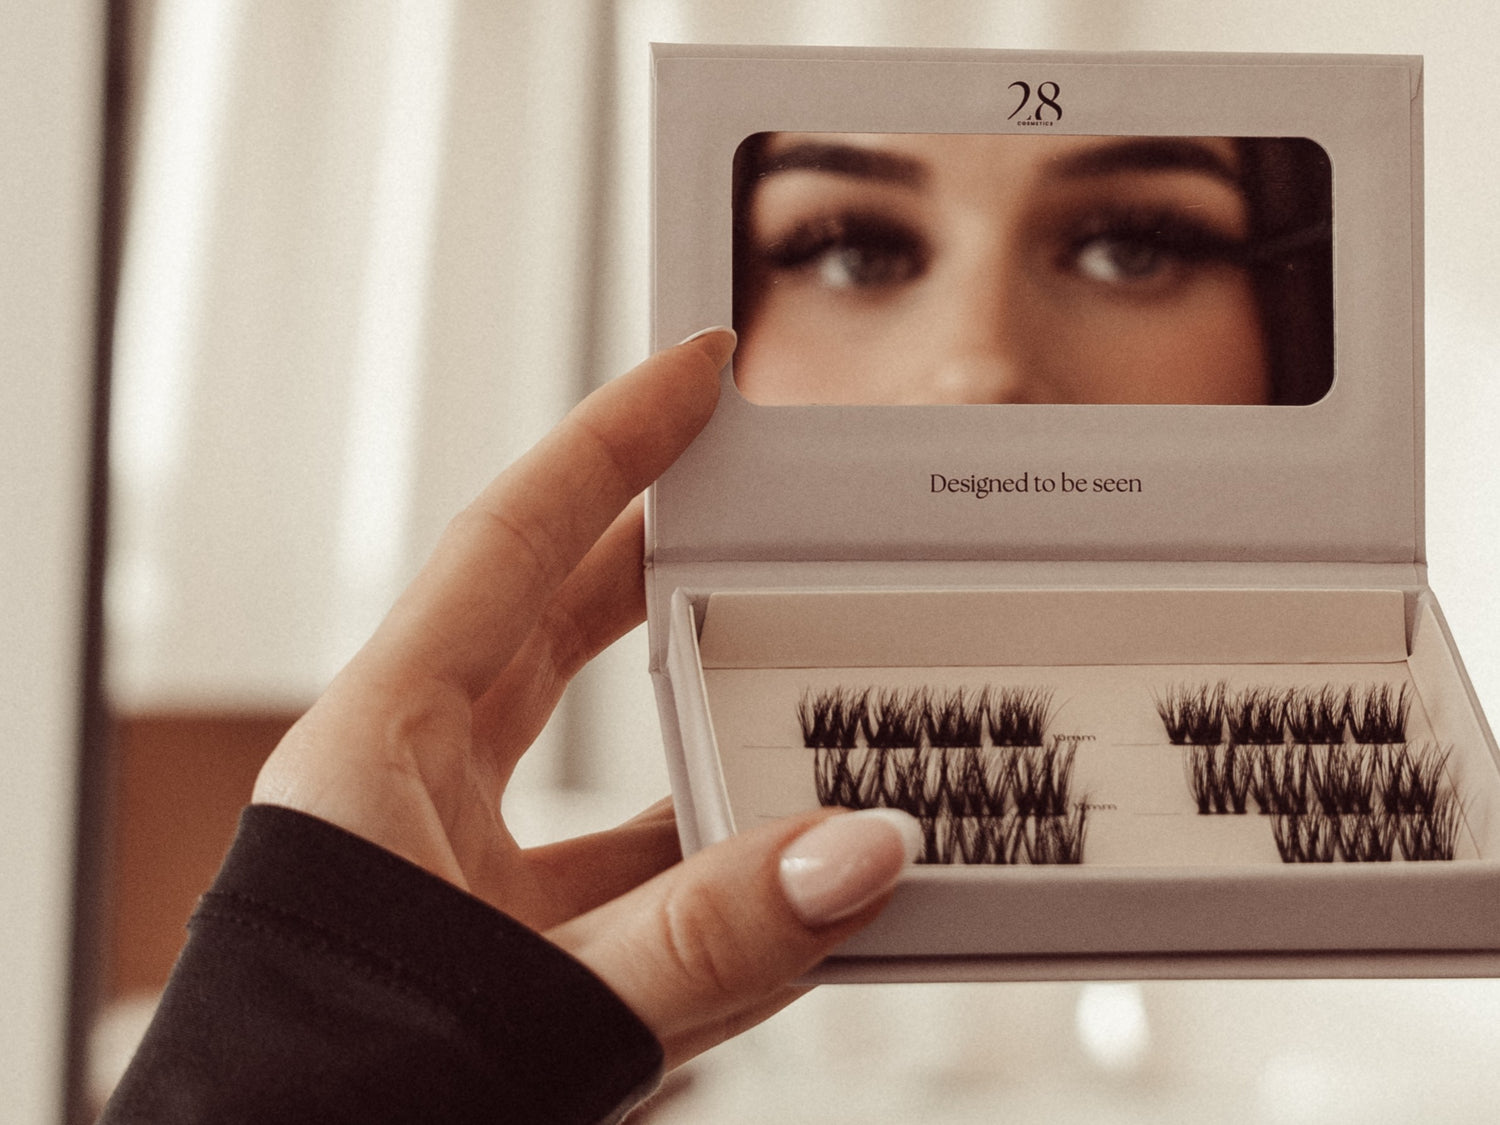
HOW TO USE - DIY CLUSTERS
DIY clusters give you maximum control over your look.
You determine the length, shape and intensity — precisely tailored to your eyes.
DIY clusters give you maximum control over your look.
You determine the length, shape and intensity — precisely tailored to your eyes.
Tip: Do not get them wet for the first 24 hours for maximum wear time.
DIY clusters are perfect if you want a lash look that lasts at least a week. You control the shape, length, and intensity, achieving professional results without a salon appointment.
DIY clusters last an average of 7 days . Wear time depends on several factors, including application and care. For best results, apply them to clean, dry lashes and avoid water and oil for the first 24 hours.
For optimal adhesion, apply a thin layer of Bond to the base of your natural lashes and place the clusters underneath your lashes.
Avoiding oily products around the eyes and keeping your lashes dry for the first 24 hours will help your lashes last longer.
Always gently remove the clusters with our lash remover or oil. For cleansing in between, use our Lash Shampoo and brush.
Yes. When you carefully remove and clean DIY clusters thoroughly, they are reusable and retain their shape and comfort.
Yes. With the right steps and our Bond & Seal, DIY clusters are very suitable for beginners. By working slowly, cluster by cluster, you can easily create a beautiful result.
No. DIY clusters are lightweight and designed for comfortable, long-term wear.


